One of my biggest problems is that I tend to forget the technologies that I learned so fast! therefore, I spent sometime documenting some of them. Here is the link to some of them:
Python and Bash tips:
https://docs.google.com/document/d/1bTDROhpg7YMwpW0PbM_K0I9VEl9k3JnvFw6DS_ZLupE/edit#heading=h.fgq7wdx48rqg
PyTest:
https://docs.google.com/document/d/1SmzZCnmrELgW9DksIJTaR6ECBy7fUk0Raa6jg1NmsG0/edit
GitHub and Git:
https://docs.google.com/document/d/10E5abLpL0lAnfPO9TcsbbnAElYMUK9rMNn8pCD6nhRk/edit?usp=sharing
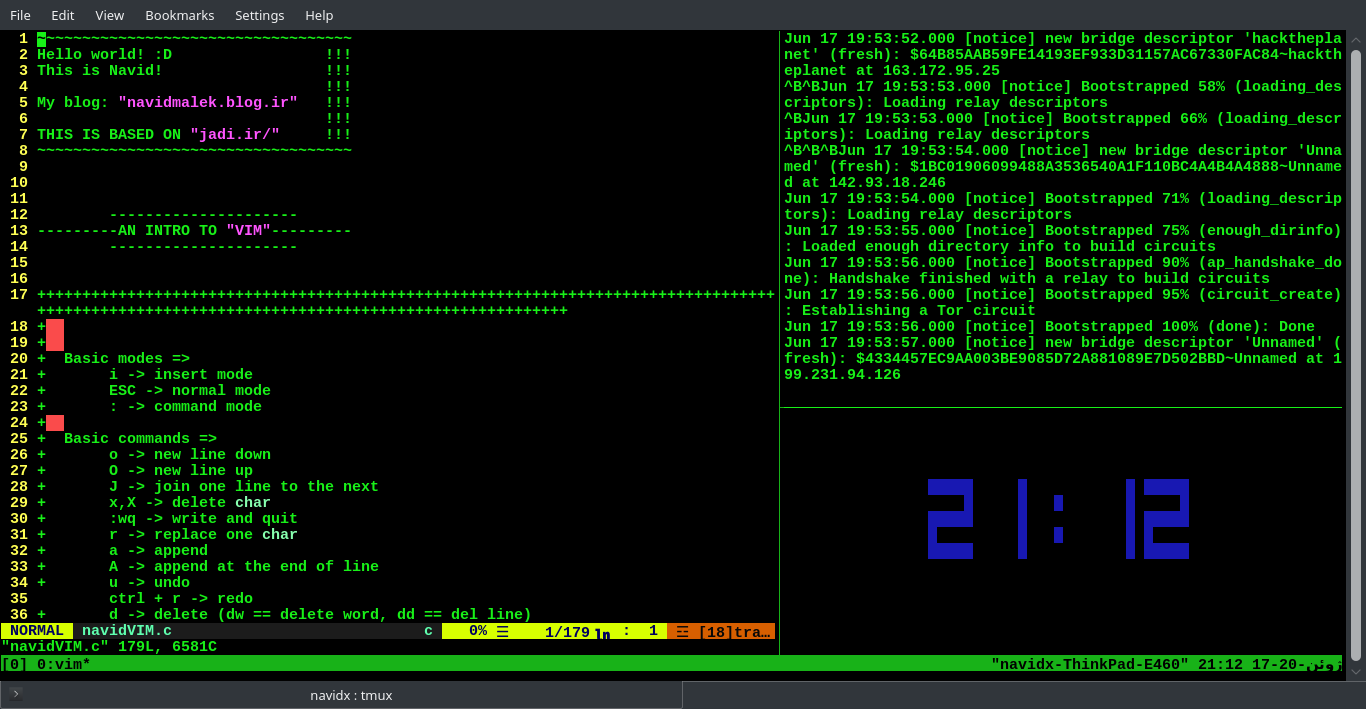
Bash and Linux:
https://docs.google.com/document/d/1ABg9GMk-PTDGHLIU4Y48kOc-Zs8wvehGOzyn8XpFBYs/edit?usp=sharing
Docker:
https://docs.google.com/document/d/1uV78_eww4FQmNzW5cynJJJ8noM_VwKY6oPPQ0-FH1zc/edit?usp=sharing
NumPy and Matplotlib:
https://docs.google.com/document/d/1VPvQpXDywo6r142EThhRhC6WvXC51HcD_pKR8L3VqHs/edit?usp=sharing
Pandas:
https://docs.google.com/document/d/1H0ztba0e2n8hCCMxTEtq4uUTPGObq9NJLOtUX86TAuI/edit?usp=sharing
Ansible:
https://docs.google.com/document/d/1qZzsrLD0jGY28CrfEU6u8nXrLfoIOzbWBvYxwz7Ues8/edit?usp=sharing
Open Source programs cheat sheets and guides:
https://drive.google.com/drive/folders/15fMkW4BFcEw7F_5VwBq6suXqmm3s7Q92?usp=share_link
Introduction to BAZEL:
https://docs.google.com/document/d/1gC9LtrWSiZfjRH_kFYqy3IkPWMwx5u1zZNx_IDTh_3Y/edit?usp=sharing